What is OXS Audio

— this allows you to maintain your personalized settings across various platforms seamlessly.
Supported Devices
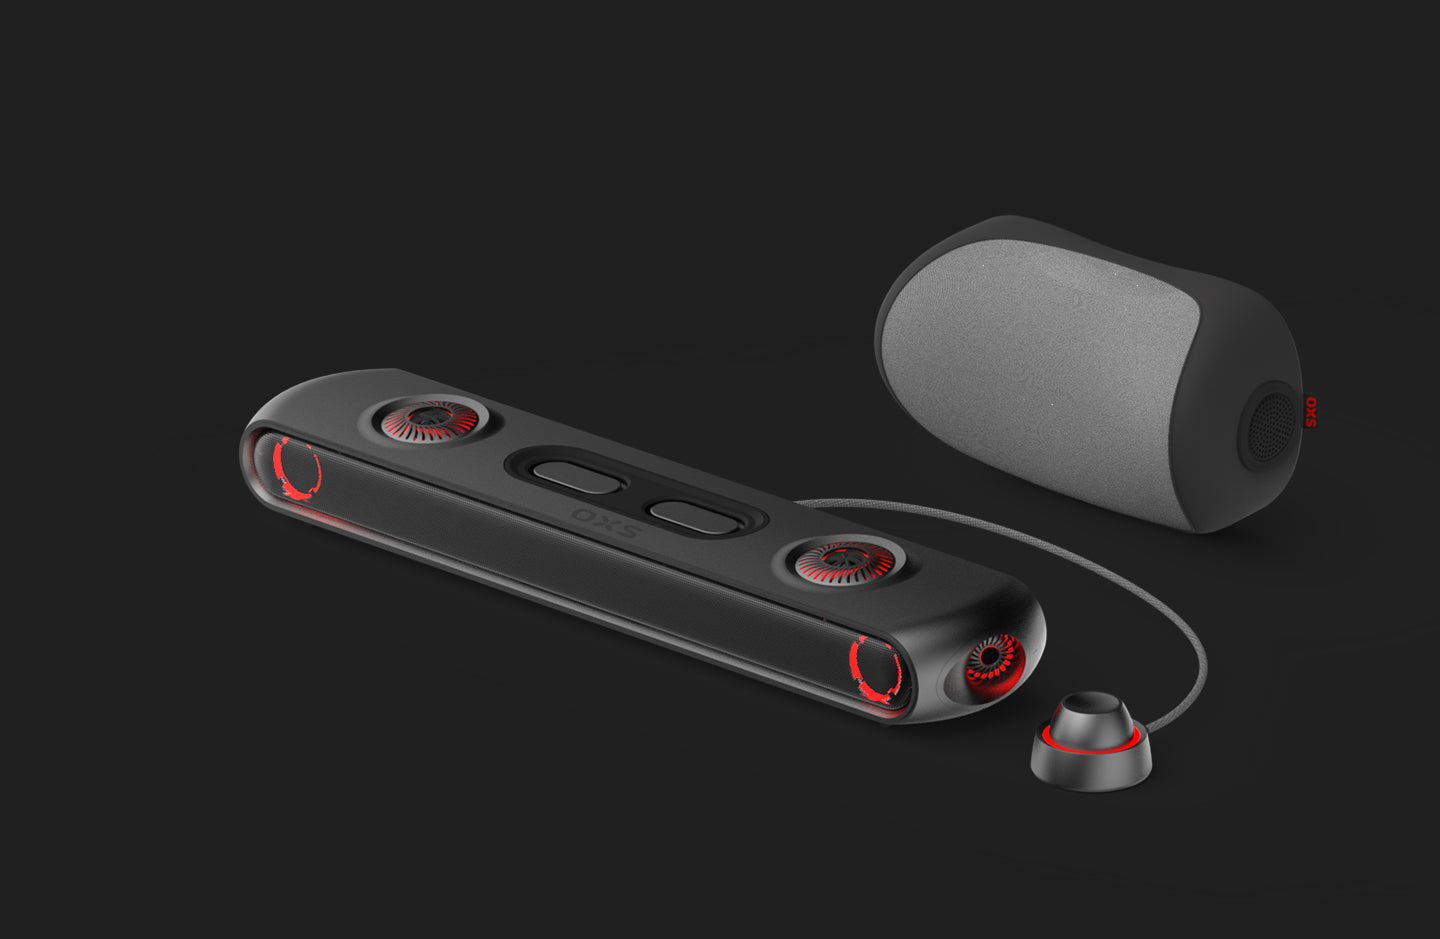
💡 Note: OXS Audio is currently compatible only with Windows 10 64-bit and Windows 11. Versions for Mac, iOS, and Android are in development. If you have any suggestions or requests regarding app features, please feel free to contact us by email (support@oxsaudio.com) or share your thoughts in our Facebook group.
Get Started
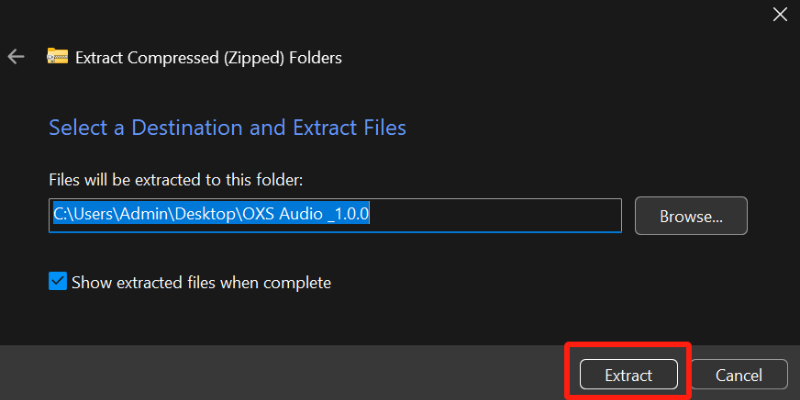
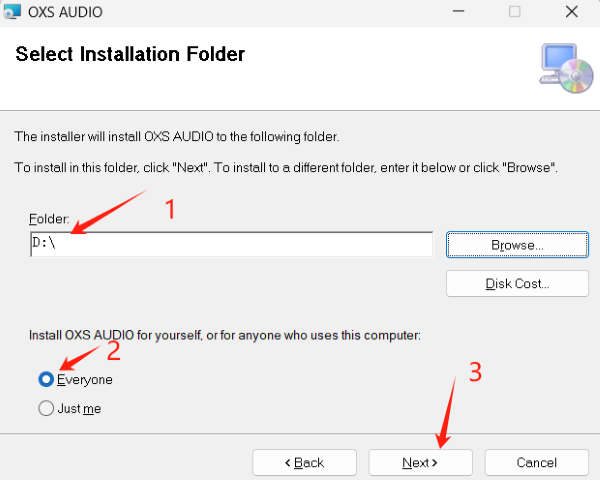
1.1 Extract the zip folder
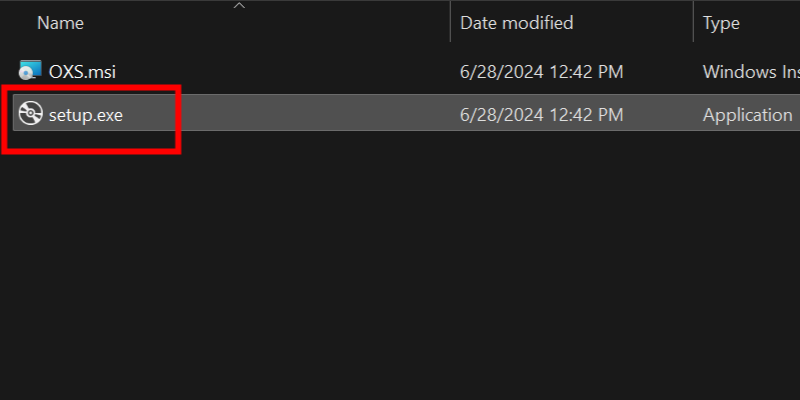
1.2 Run the Installer
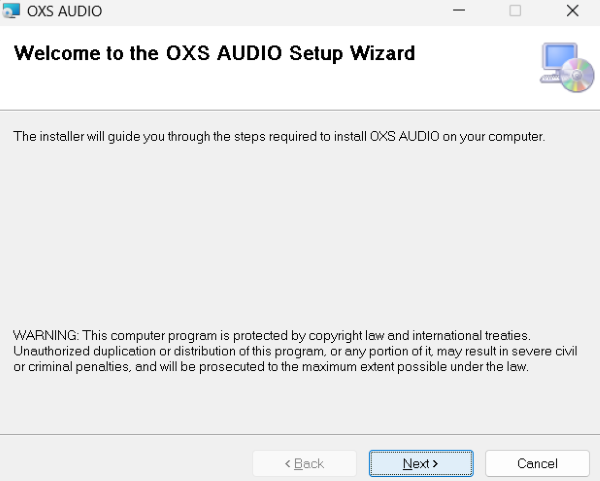
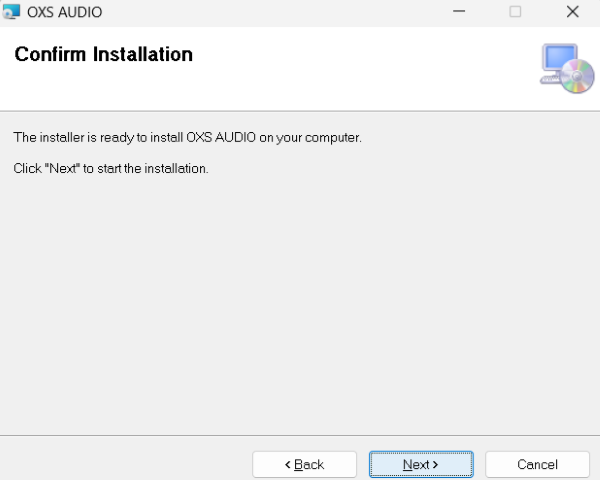
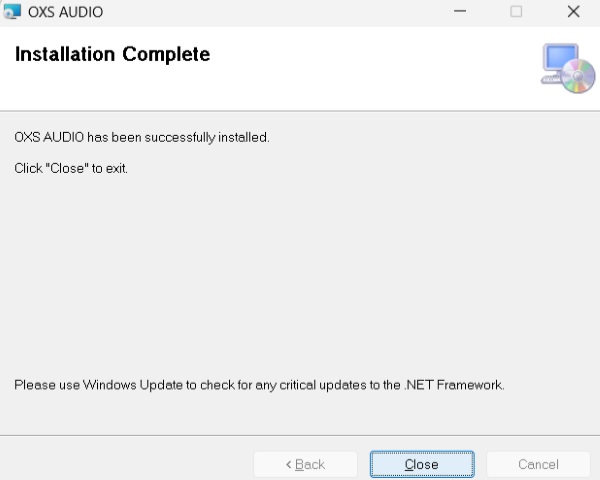
1.3 Begin the installation
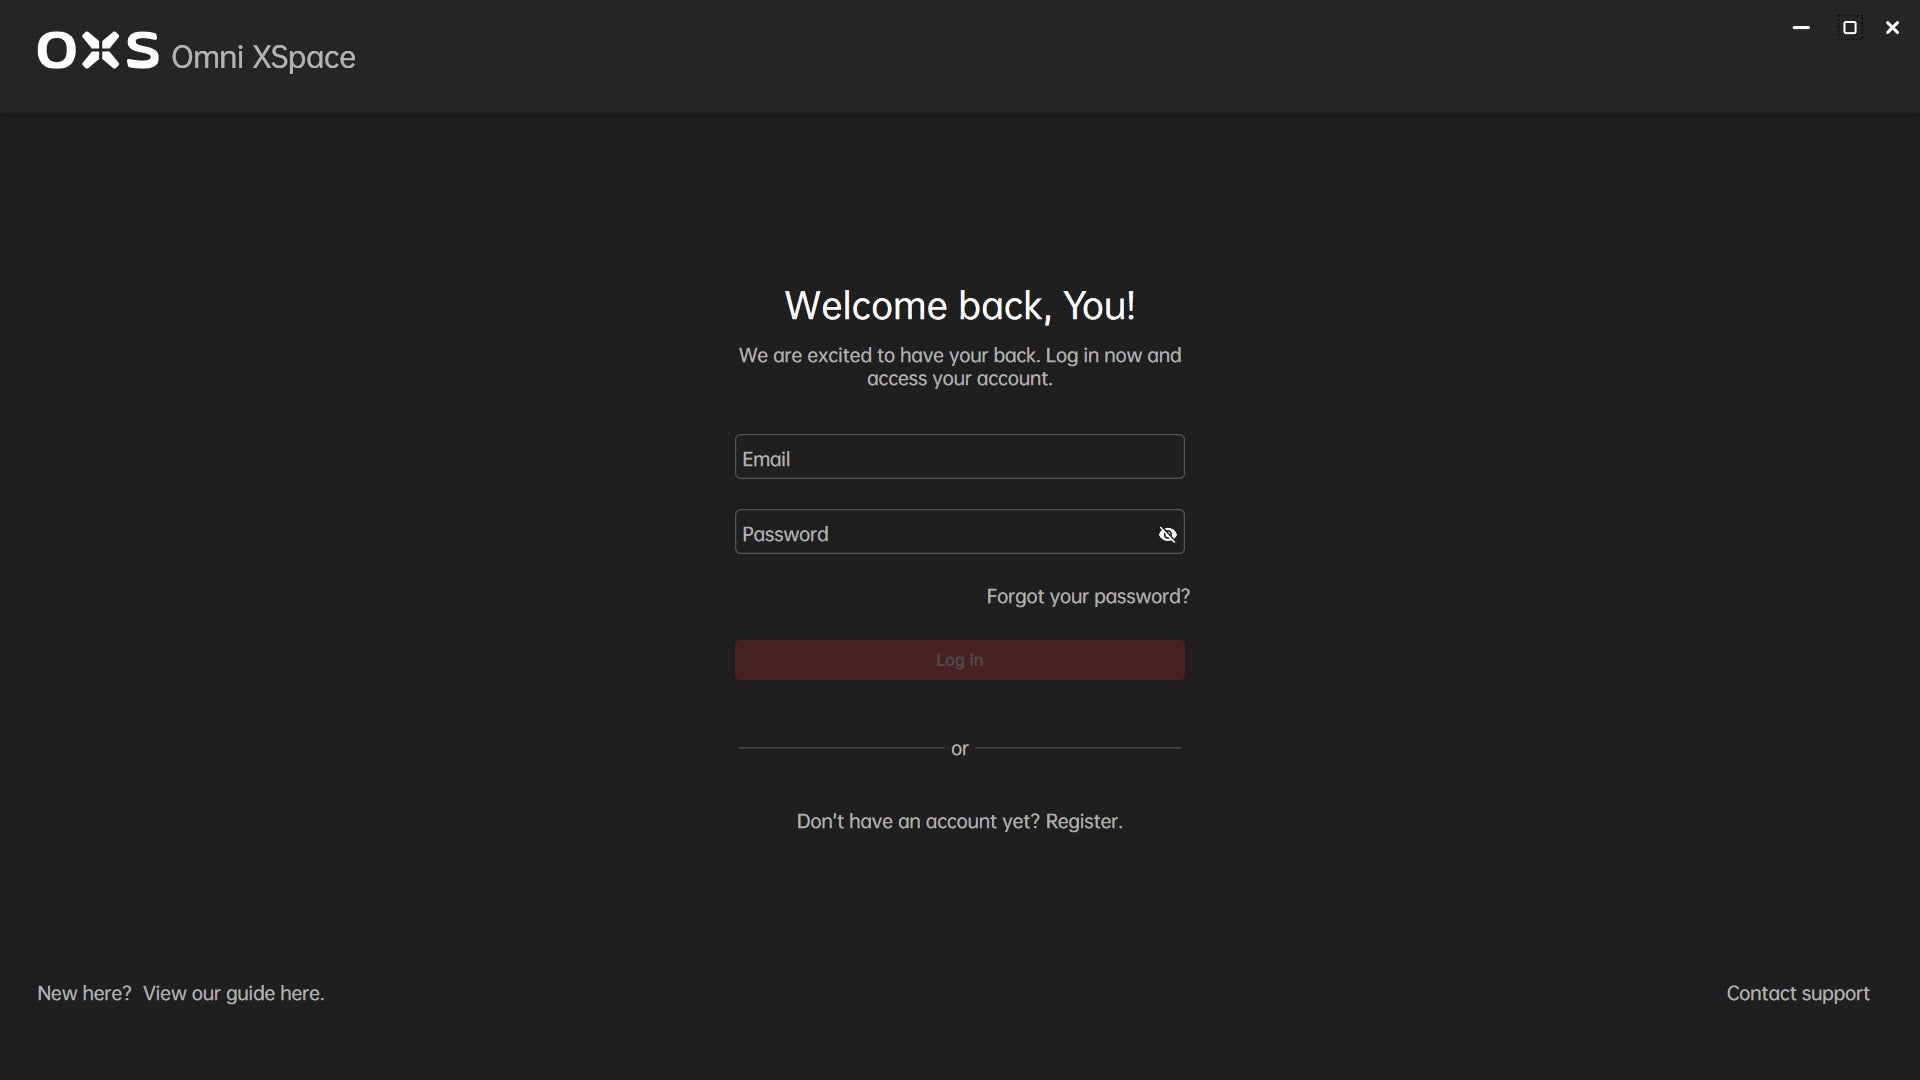
2.1 Welcome
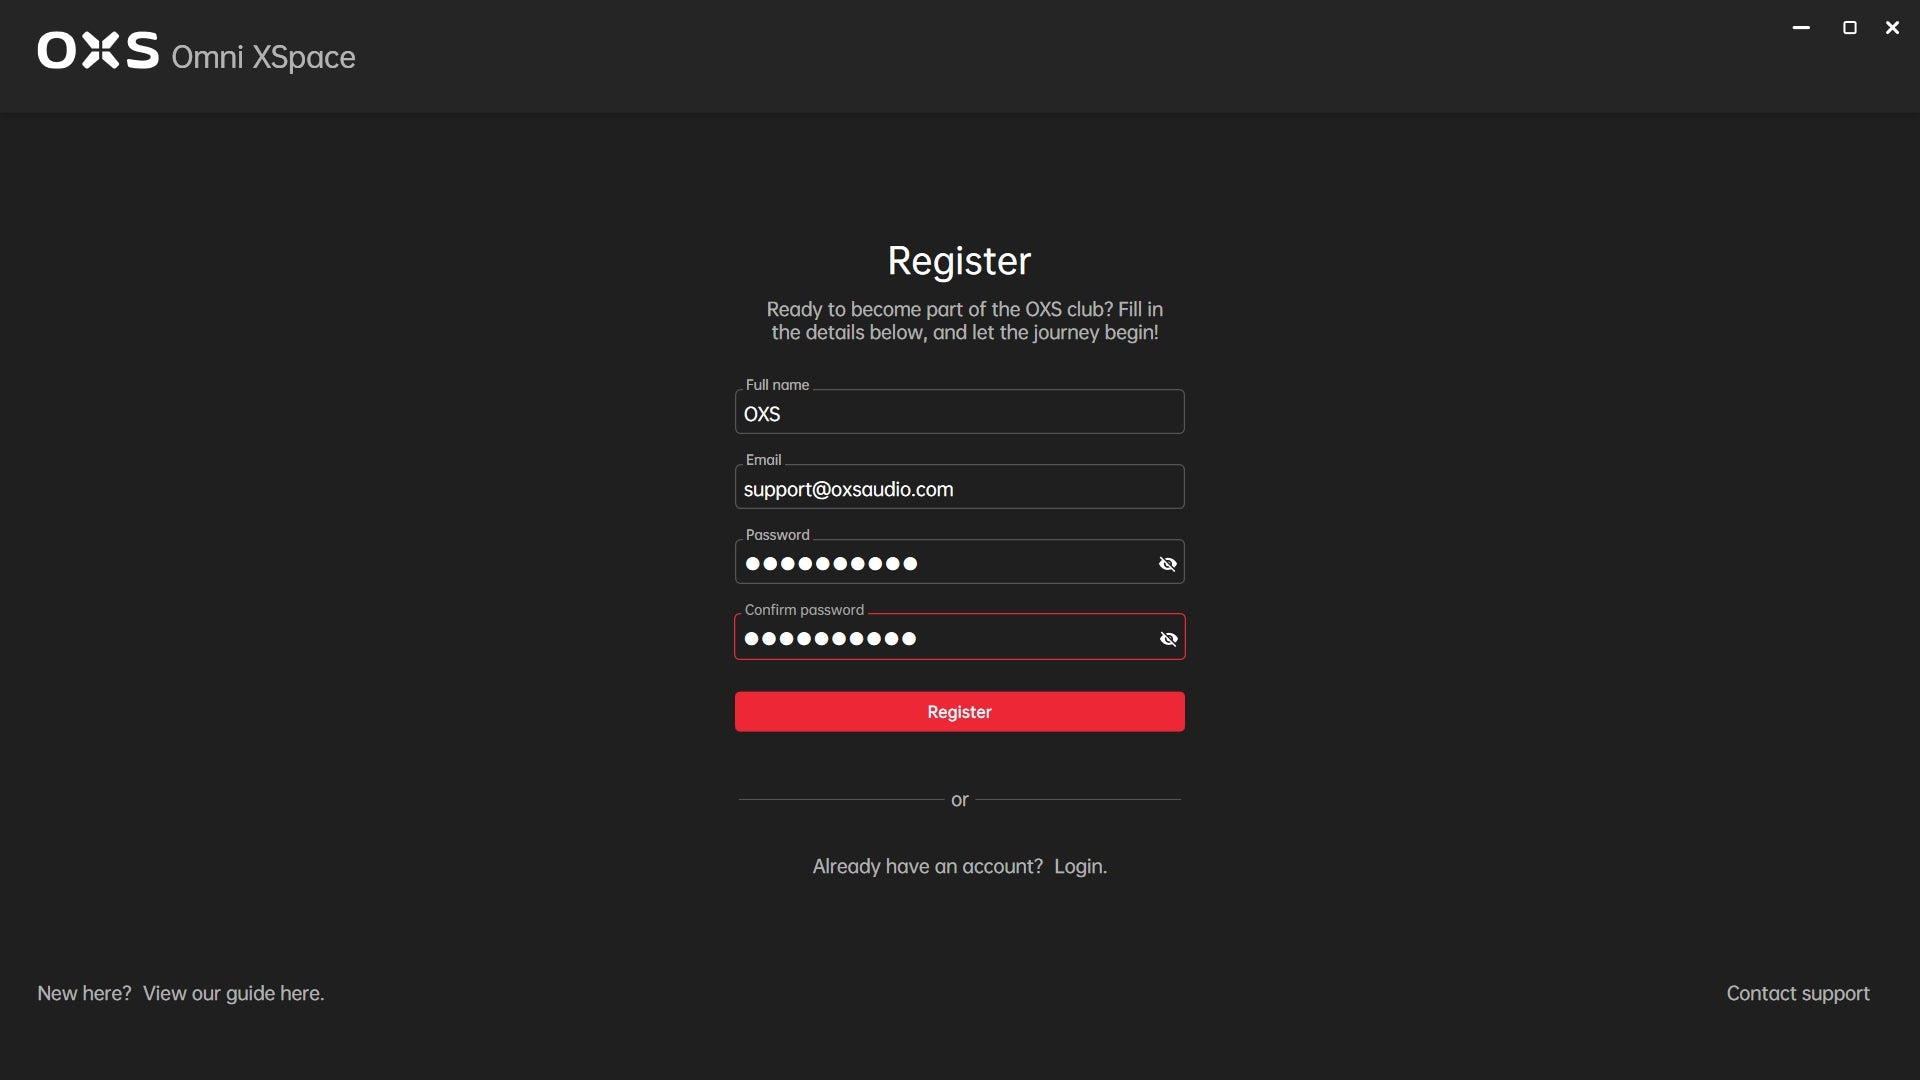
2.2 Register
Input below information to get started:
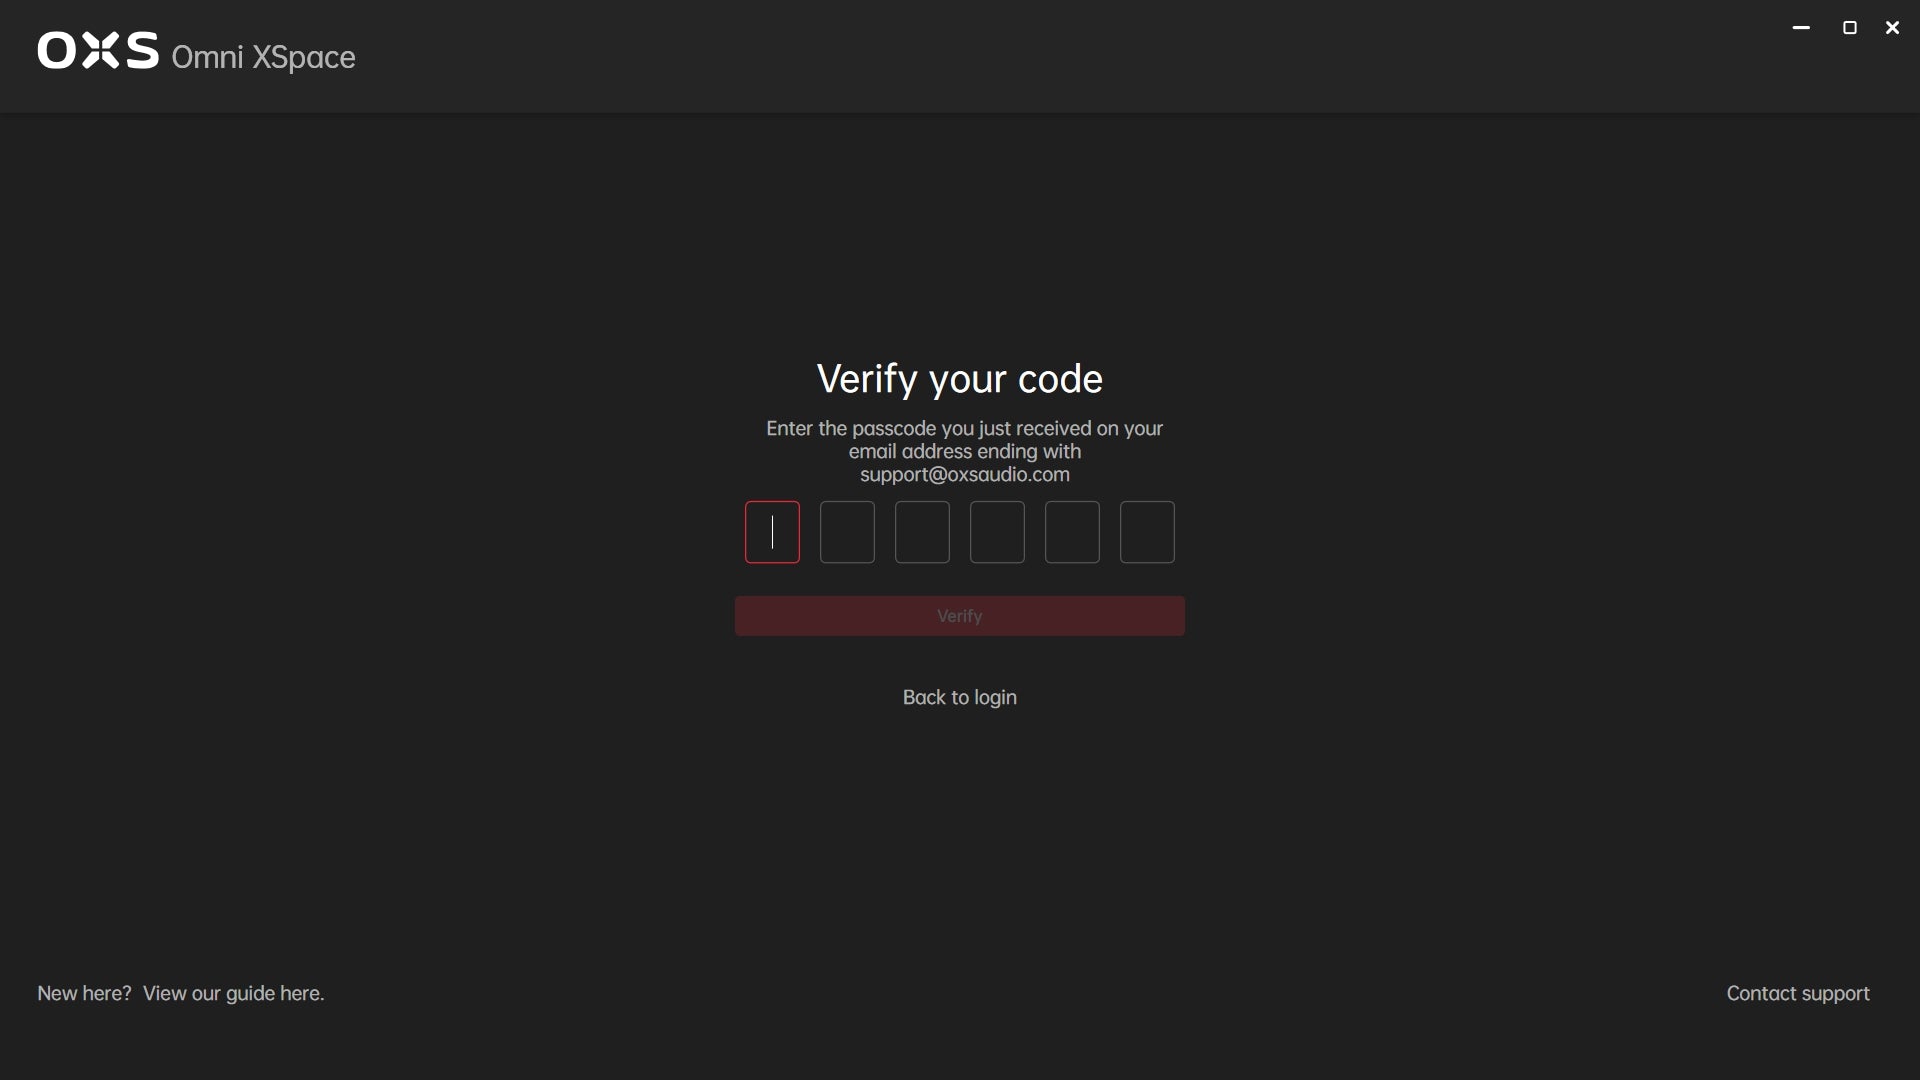
2.3 Receive email verification code
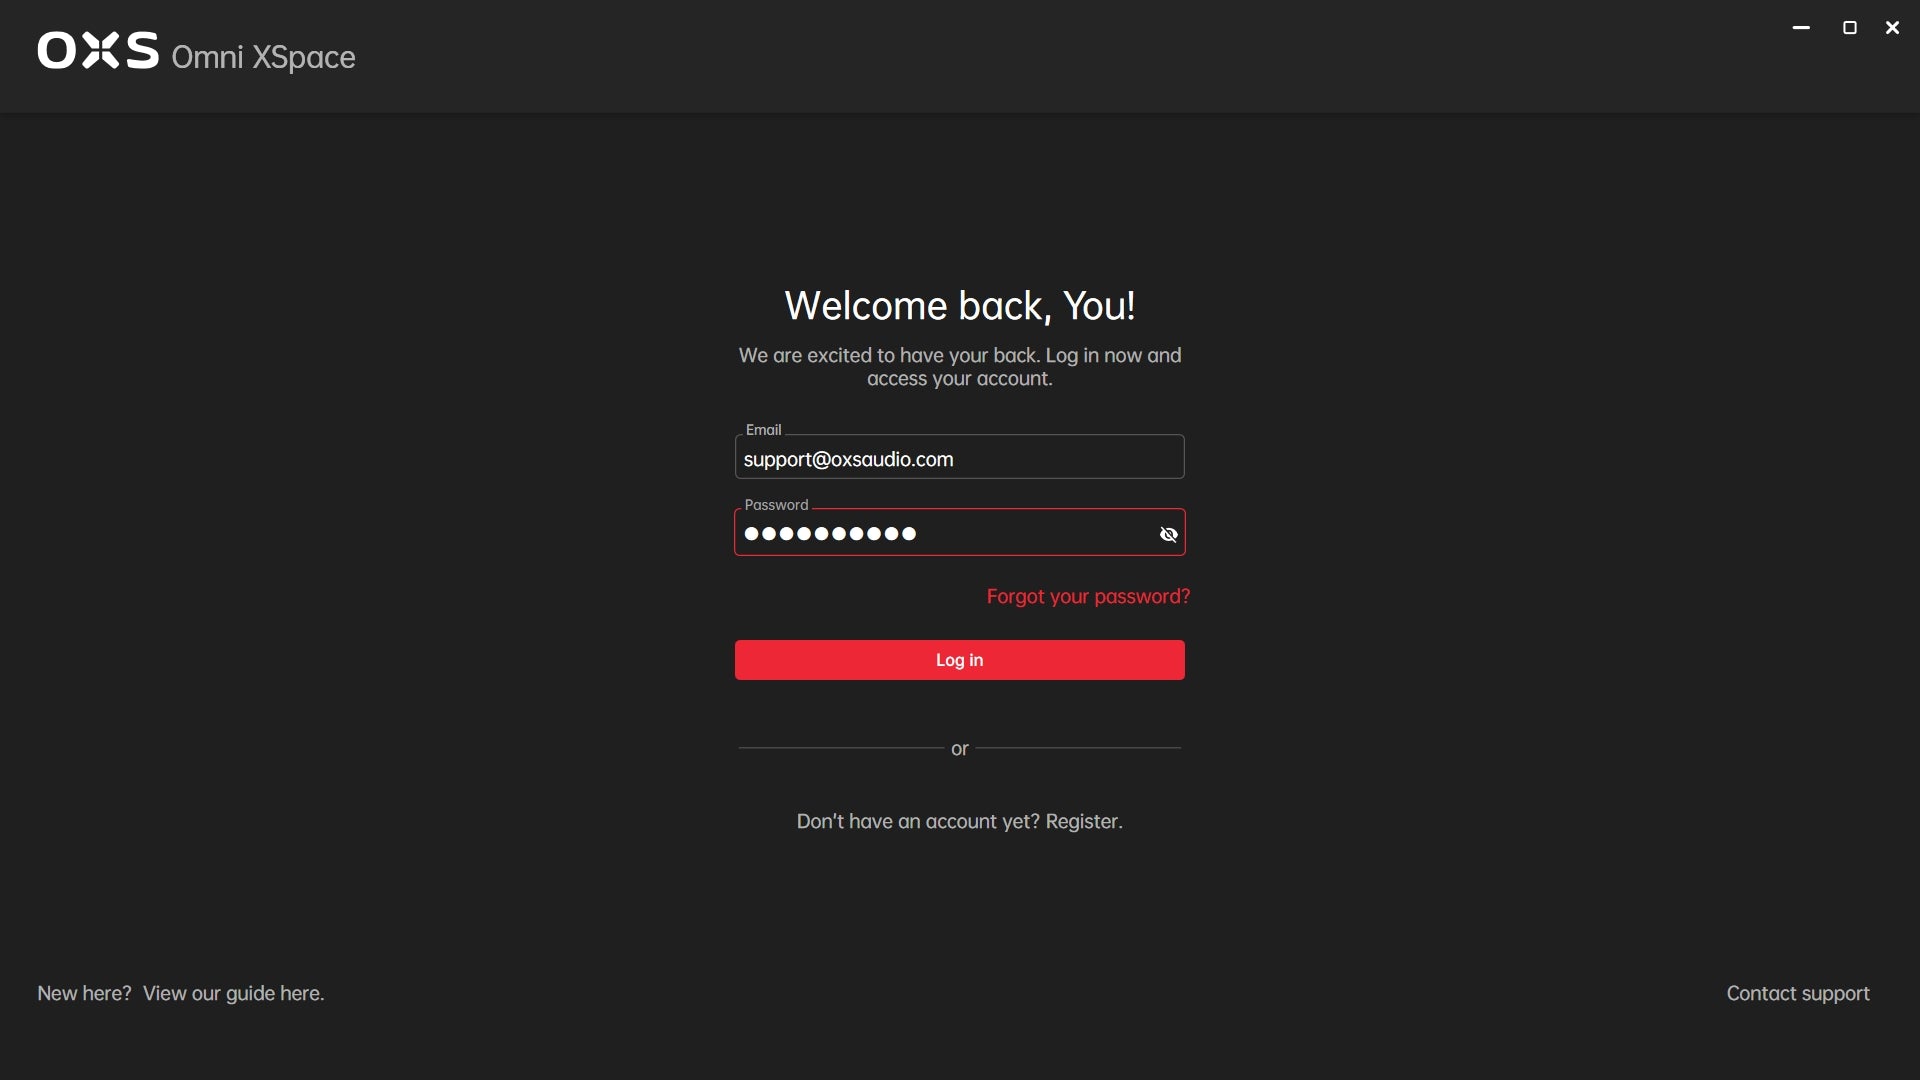
2.4 Login
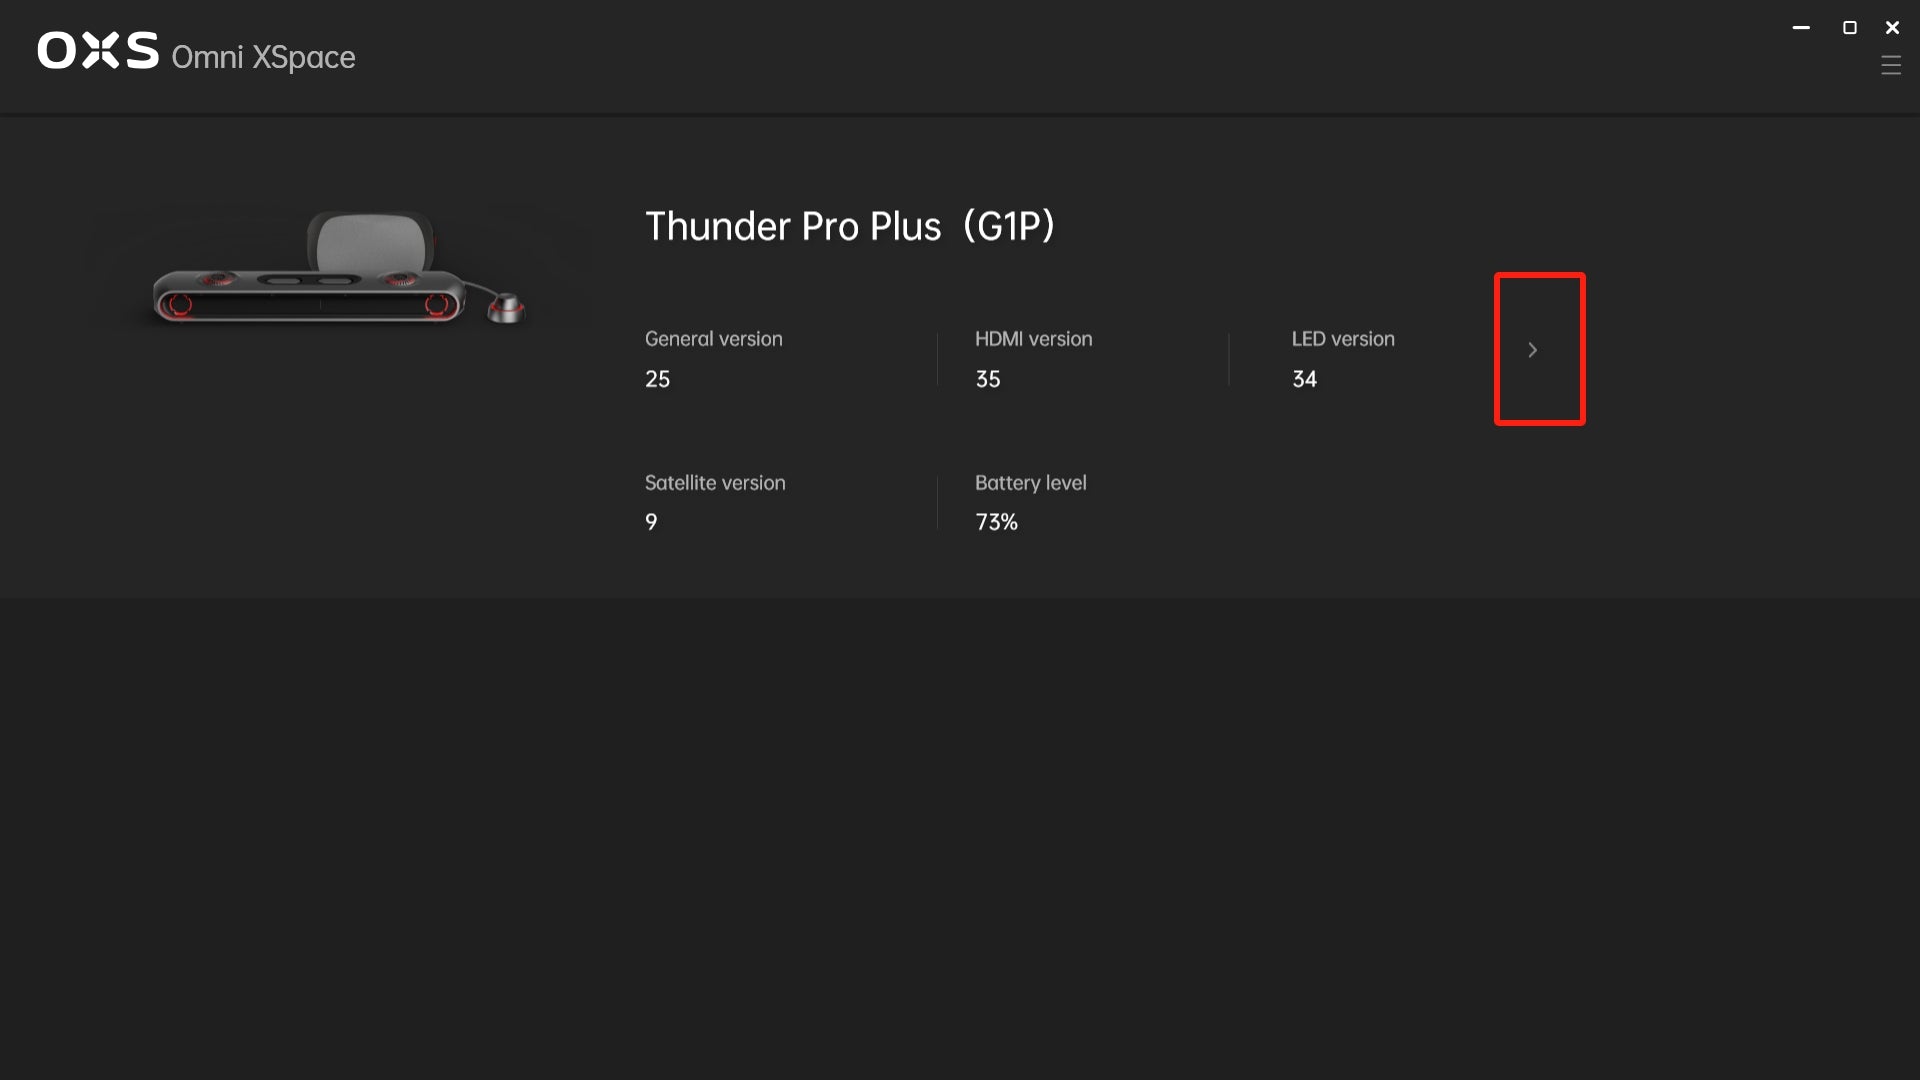
3.1 Connect to your Thunder Pro+
💡 Note: The connection through USB-C port doesn't affect the transmission of audio and picture signals. You can choose other connection mothods you prefered (e.g. HDMI), while the USB-C port is connected at the same time. Then, select the input source corresponding to the audio input connection (e.g. HDMI).
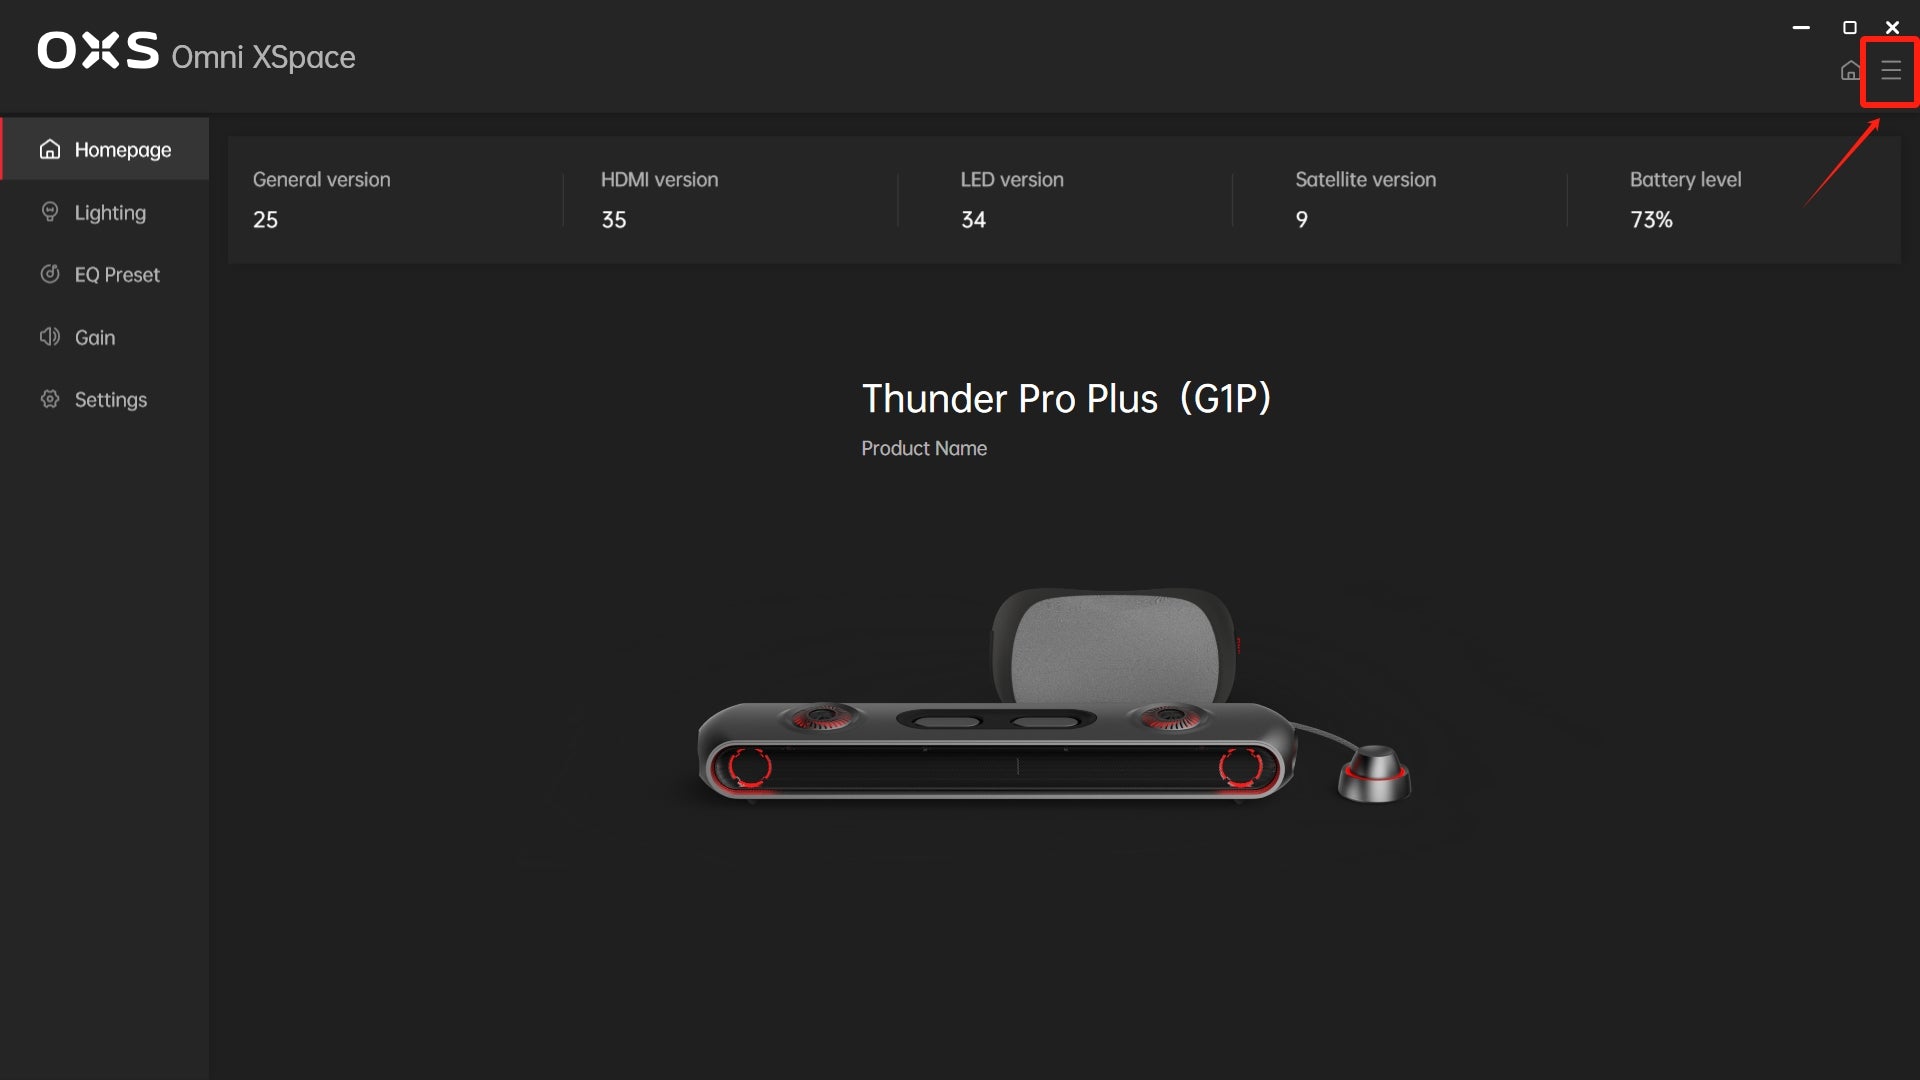
3.2 Settings
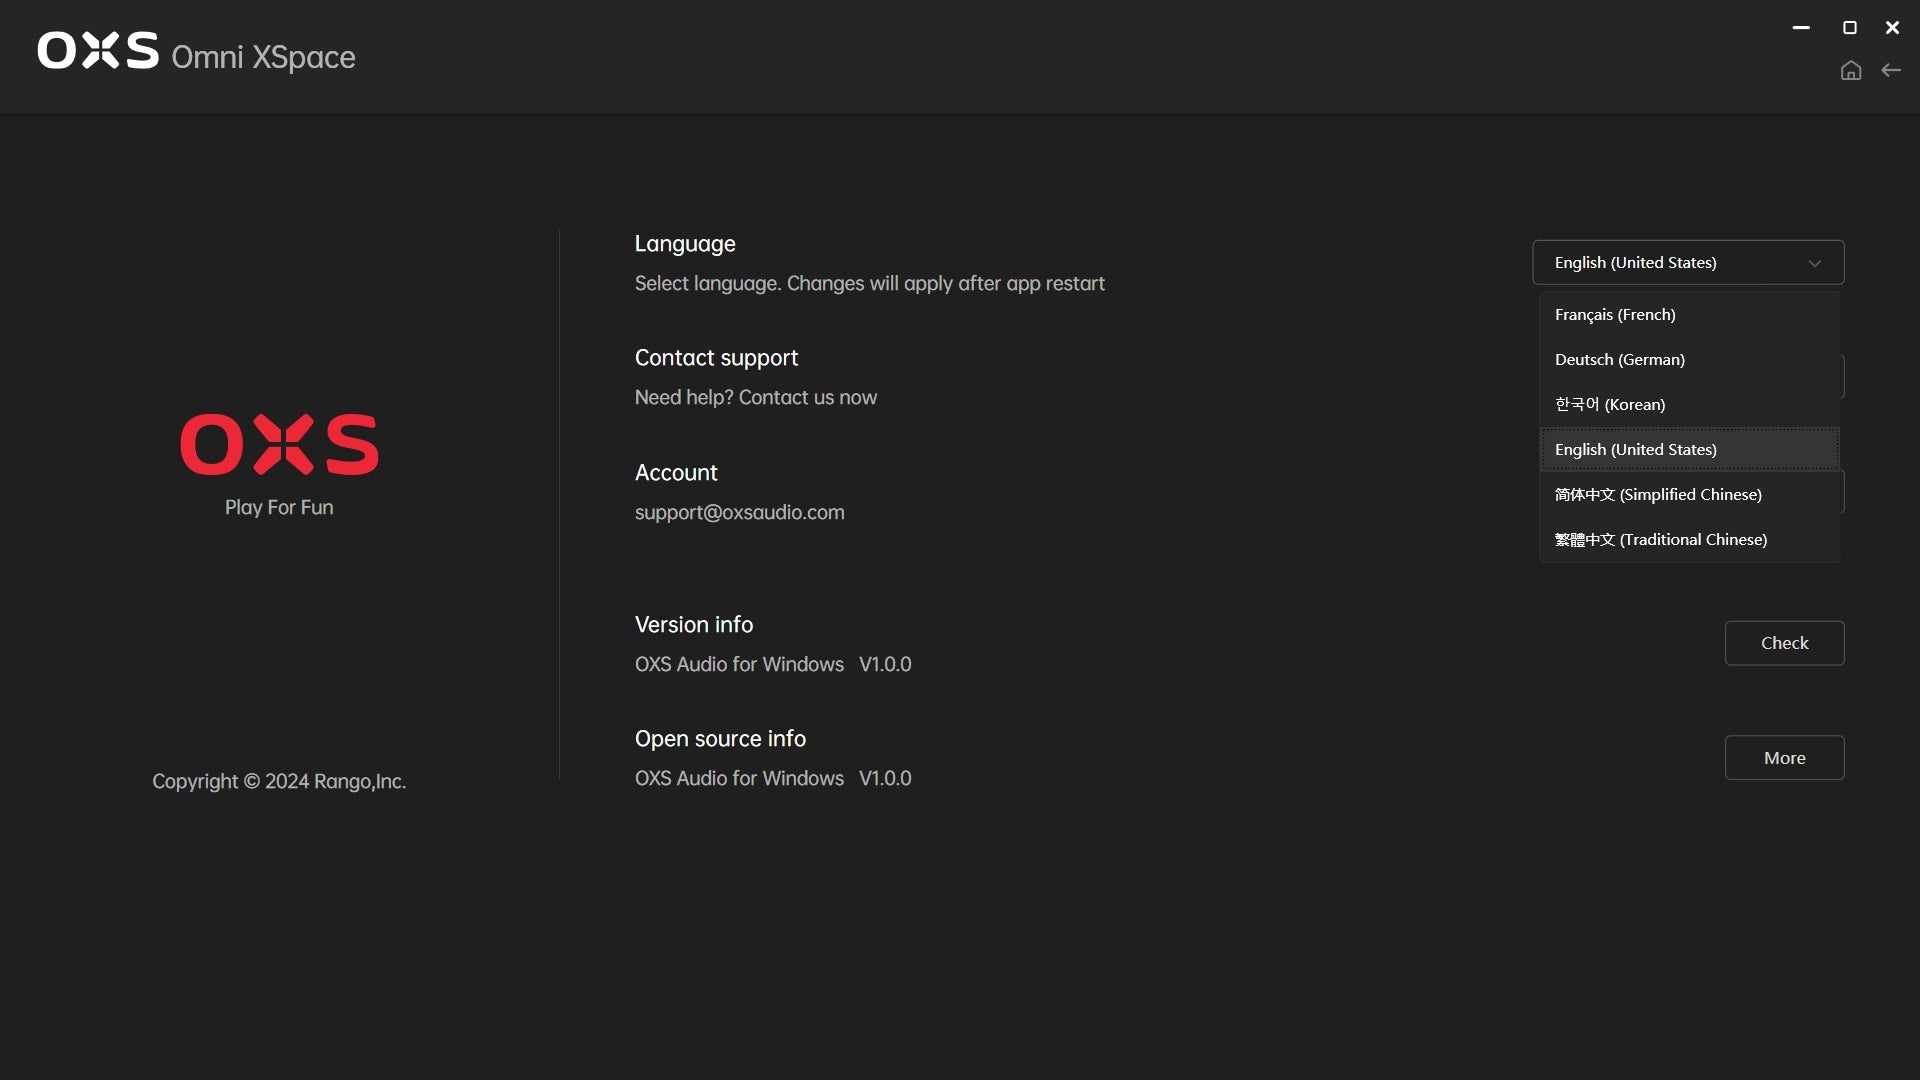
3.3 Language setting
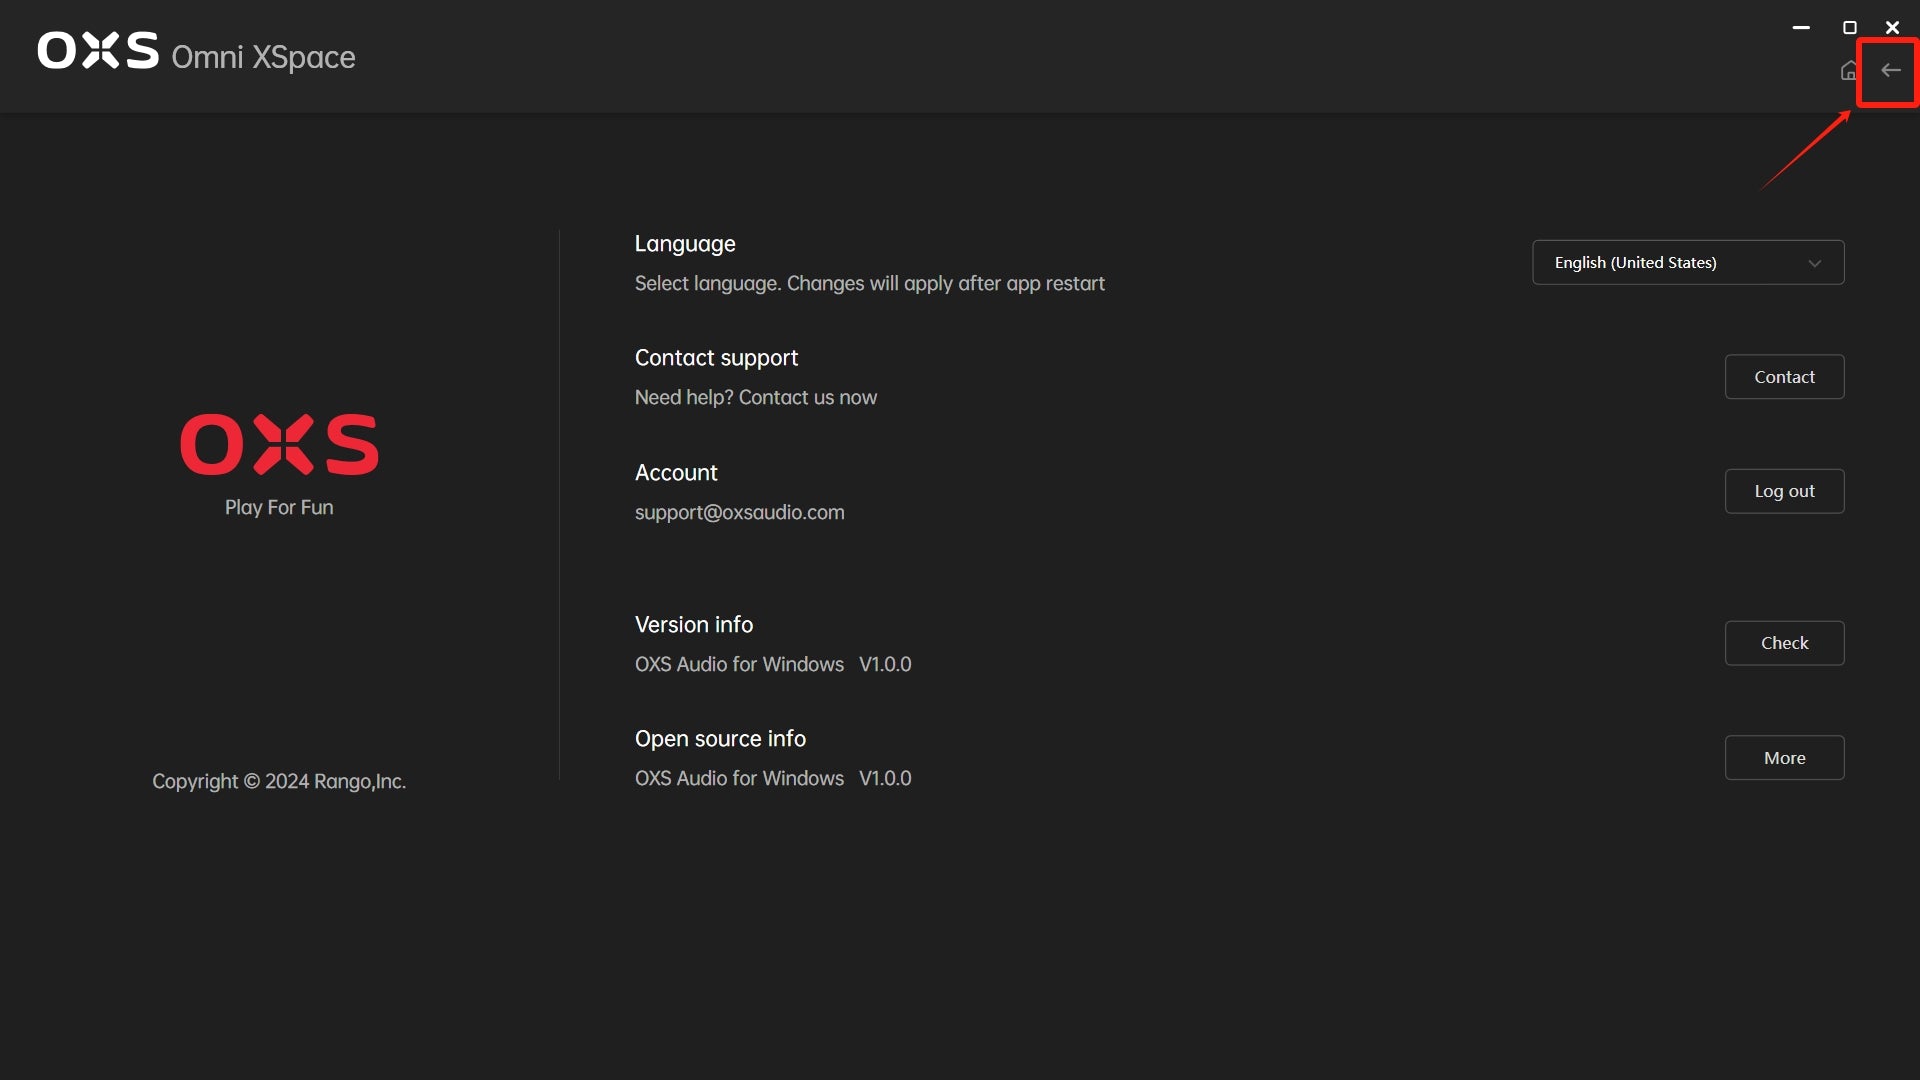
3.4 Back to explore features
Adjust the lighting, EQ mode, gain and general settings to match your preferences.
Set the light ON or OFF, adjust brightness, or choose from the four modes to suit your needs.
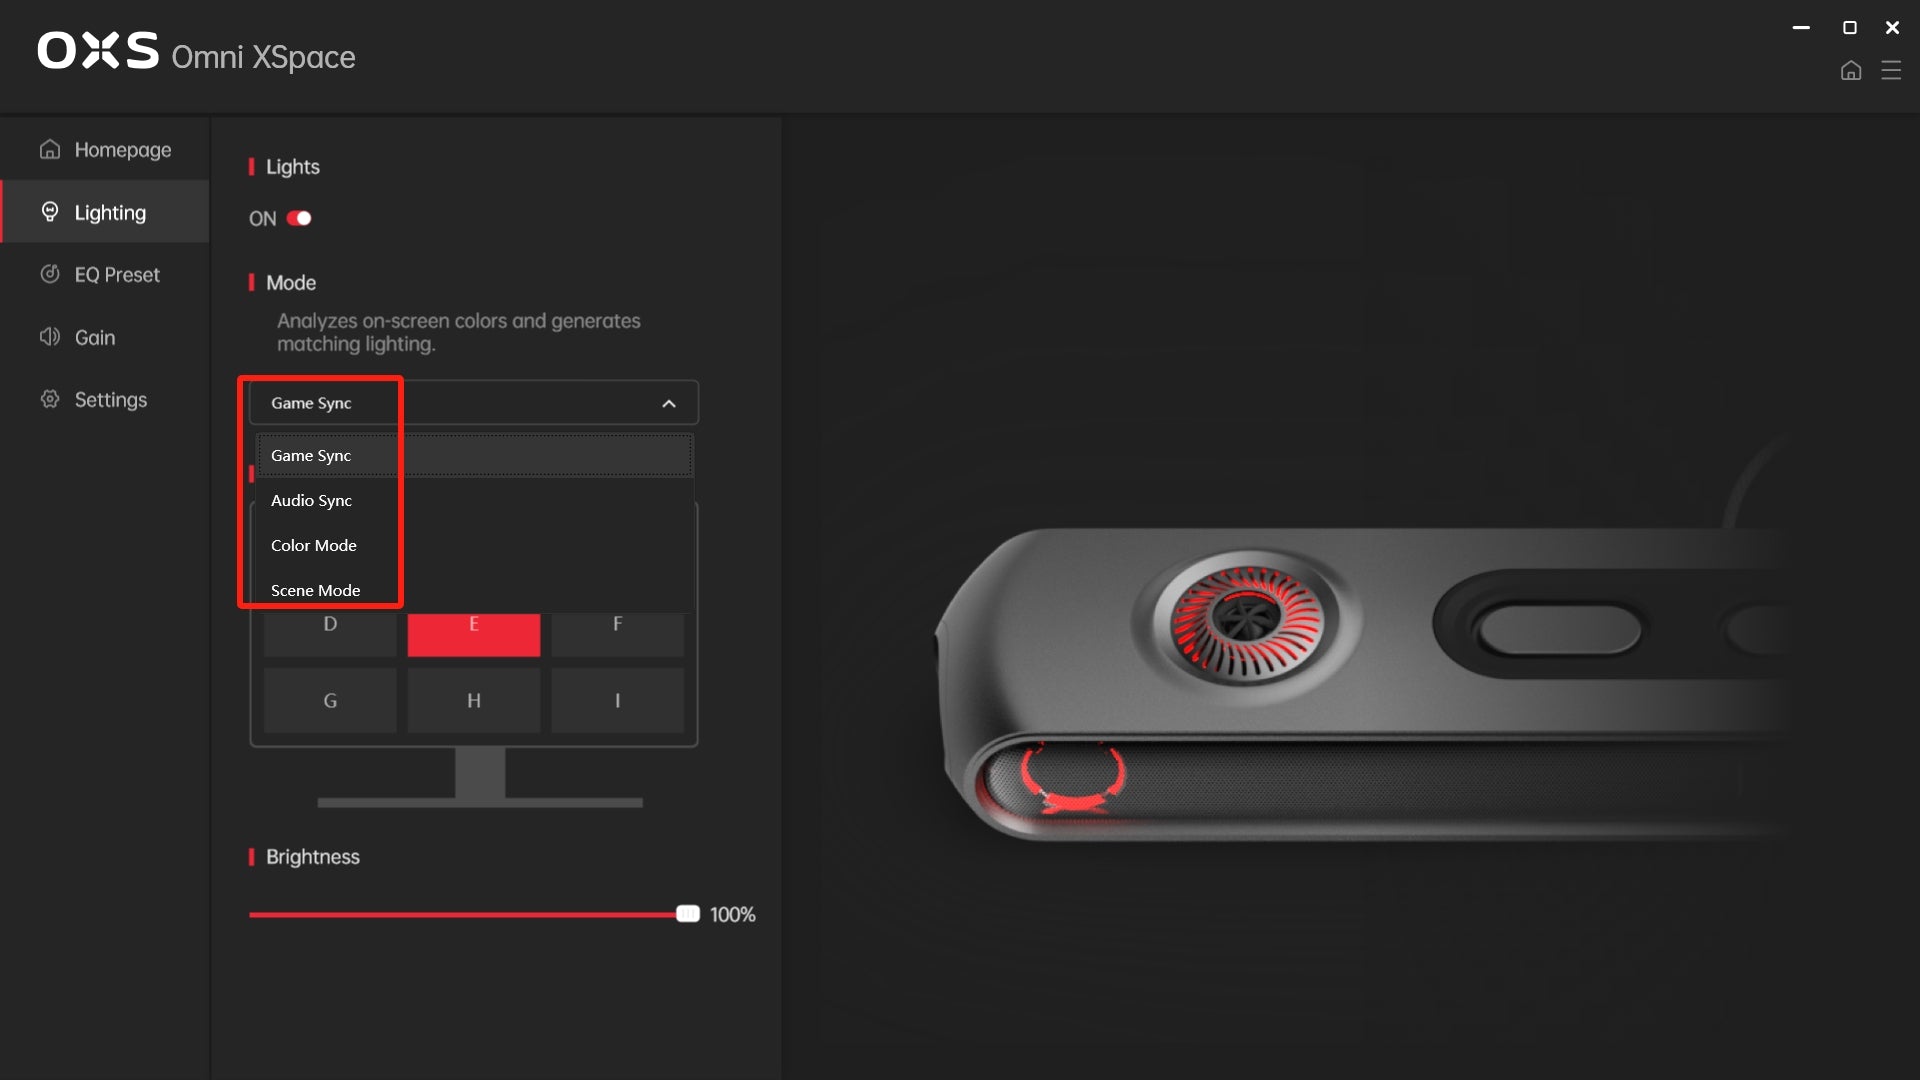
Game Sync
The screen is divided into 9 pieces. You can choose one of them, then the system will analyze on-screen colors and generate matching lighting.
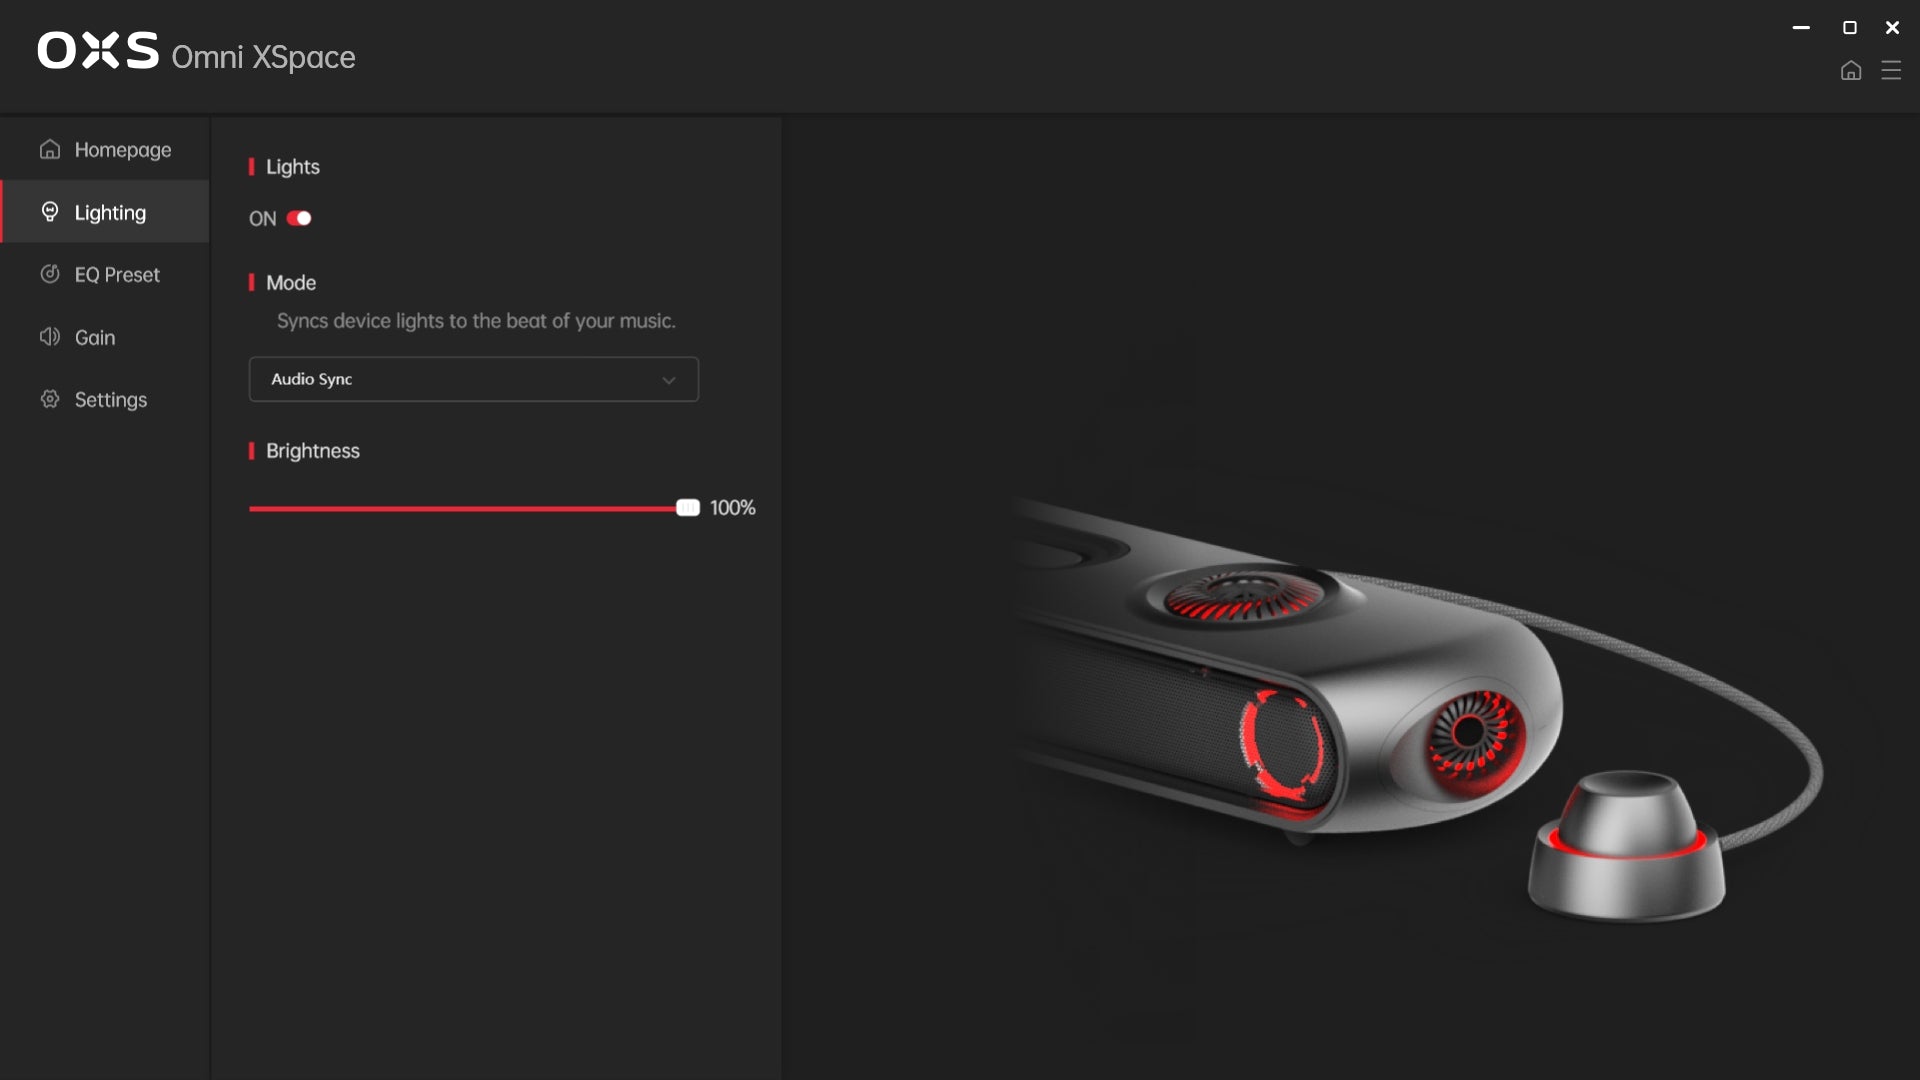
Audio Sync
Sync device lights to the beat of your music. The stronger the beat, the brighter the lights.
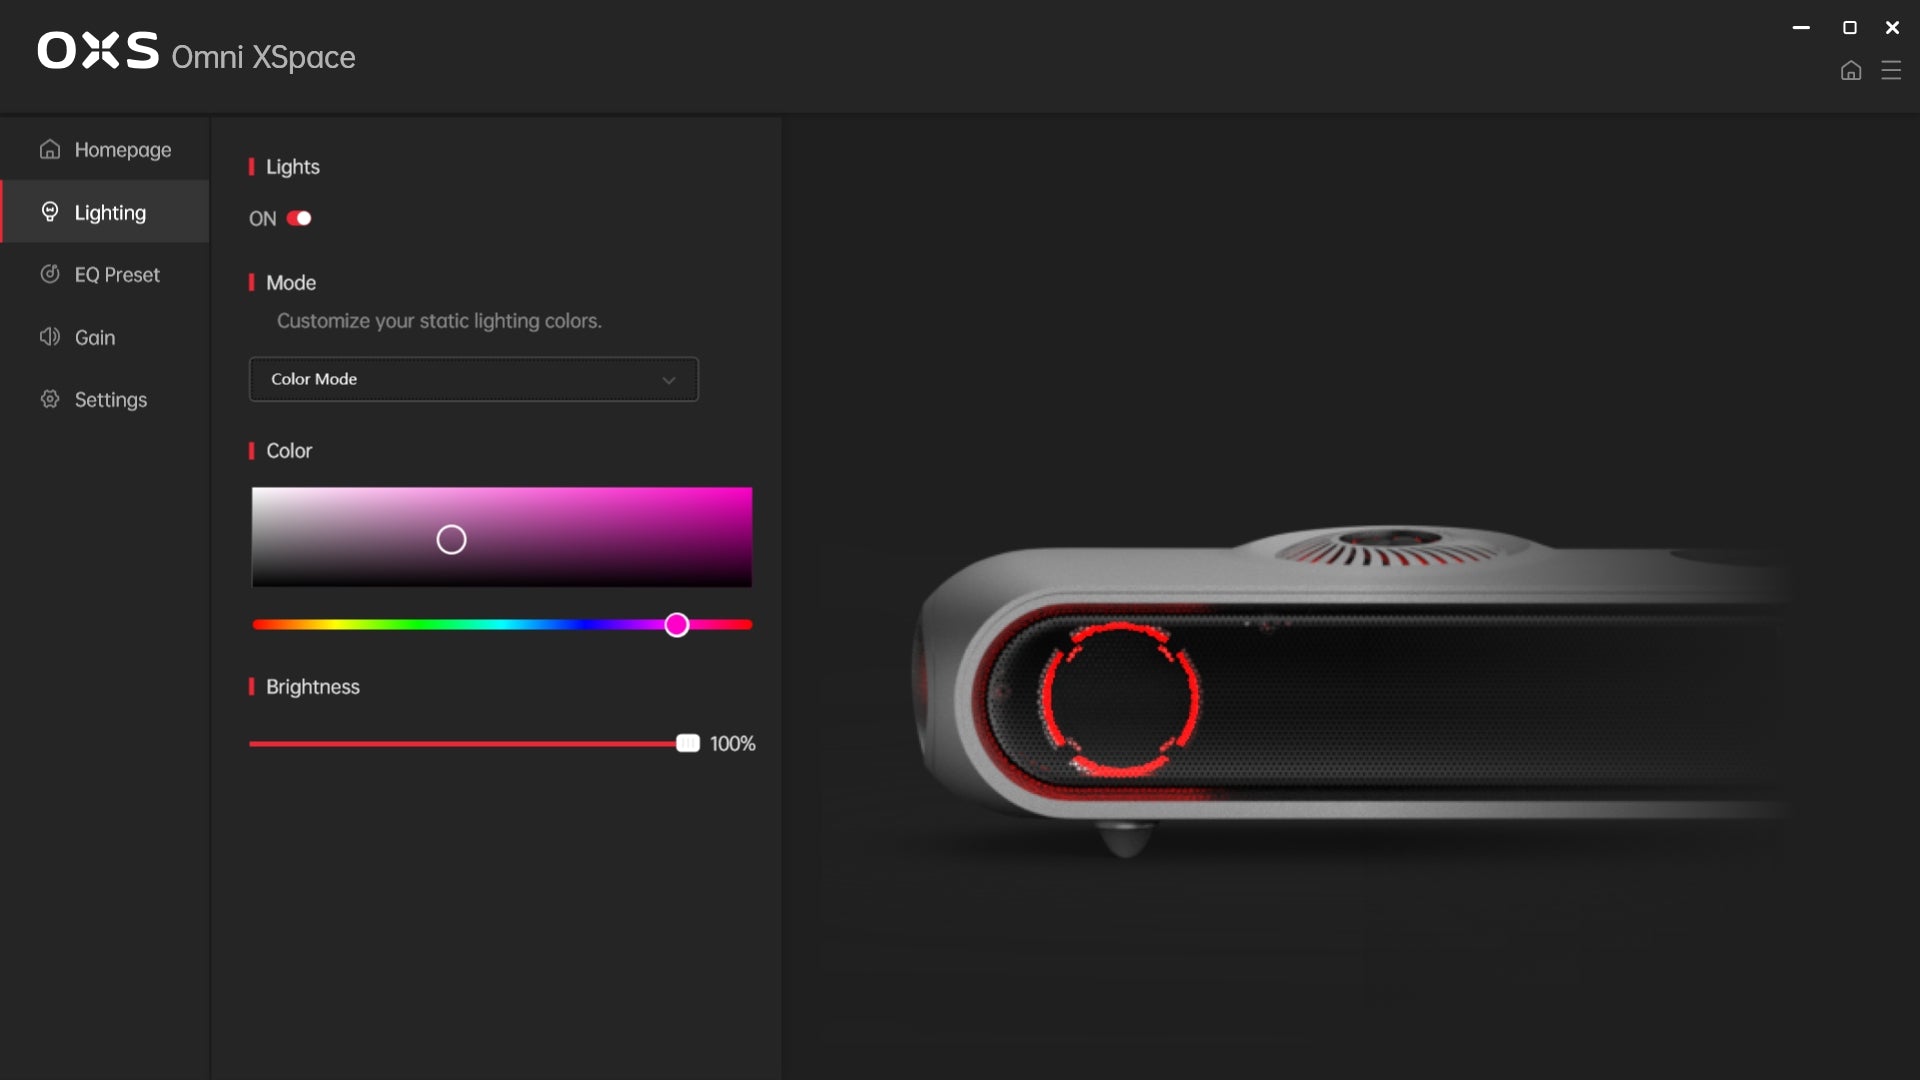
Color Mode
Customize static lighting RGB colors. Choose a color you like.
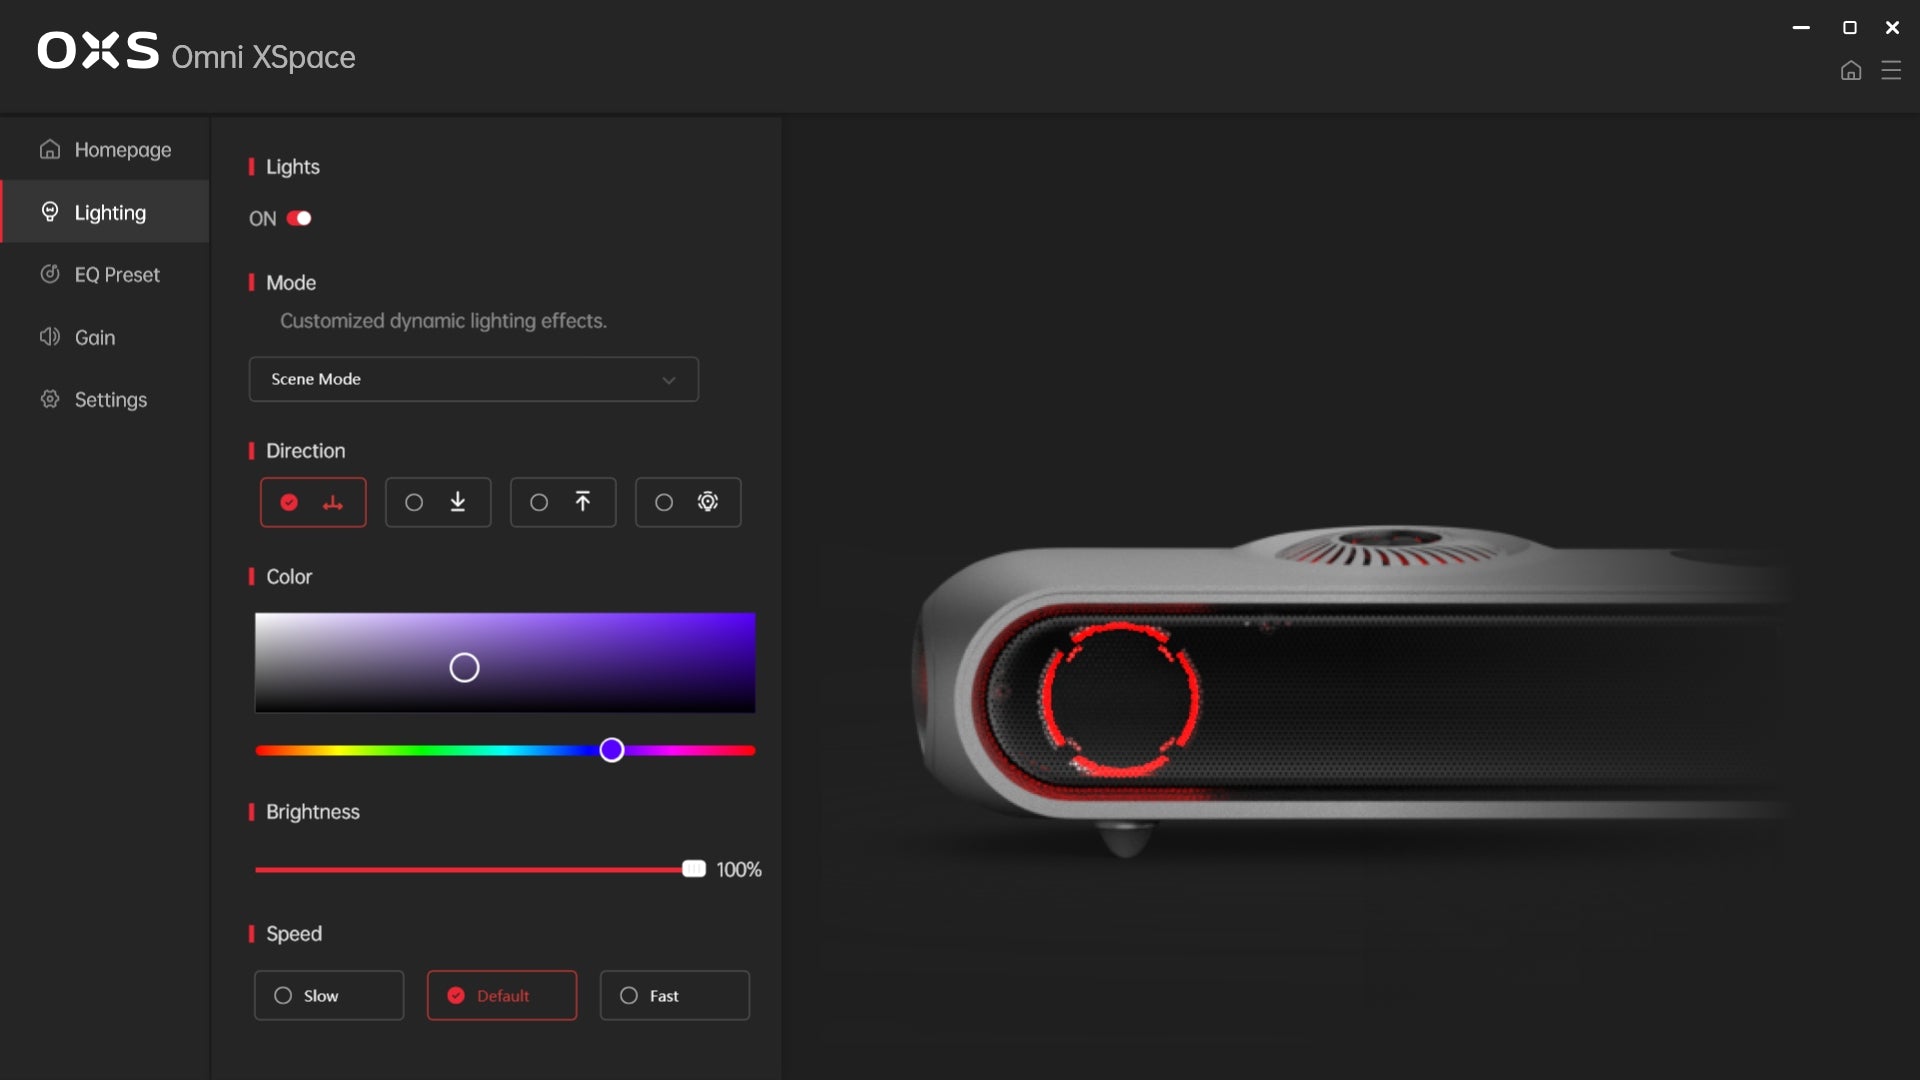
Scene Mode
Customized dynamic lighting effects. Choose the running direction, color and speed you like.
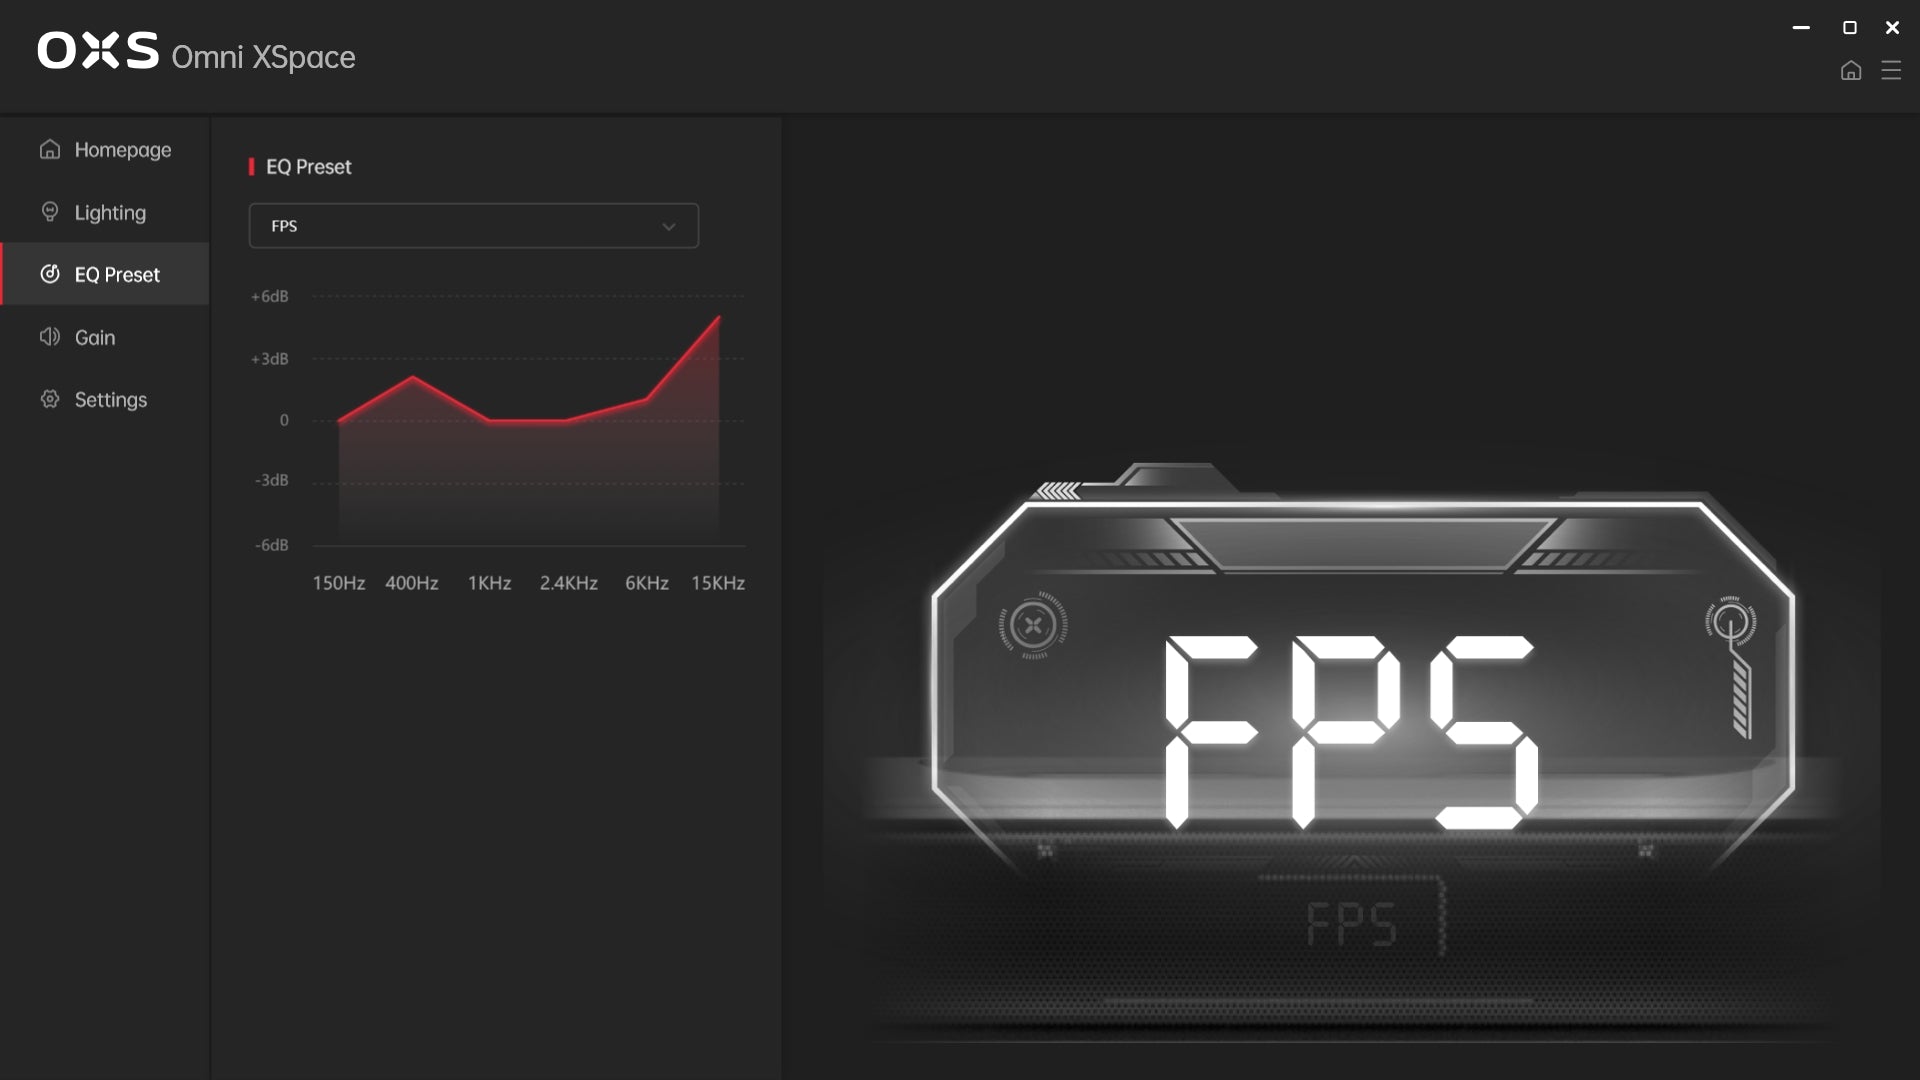
There are 4 preset EQs: 3 game modes (FPS, RAC and MOBA) and a standard mode.
You can choose your preferred sound effects based on the games you are playing.
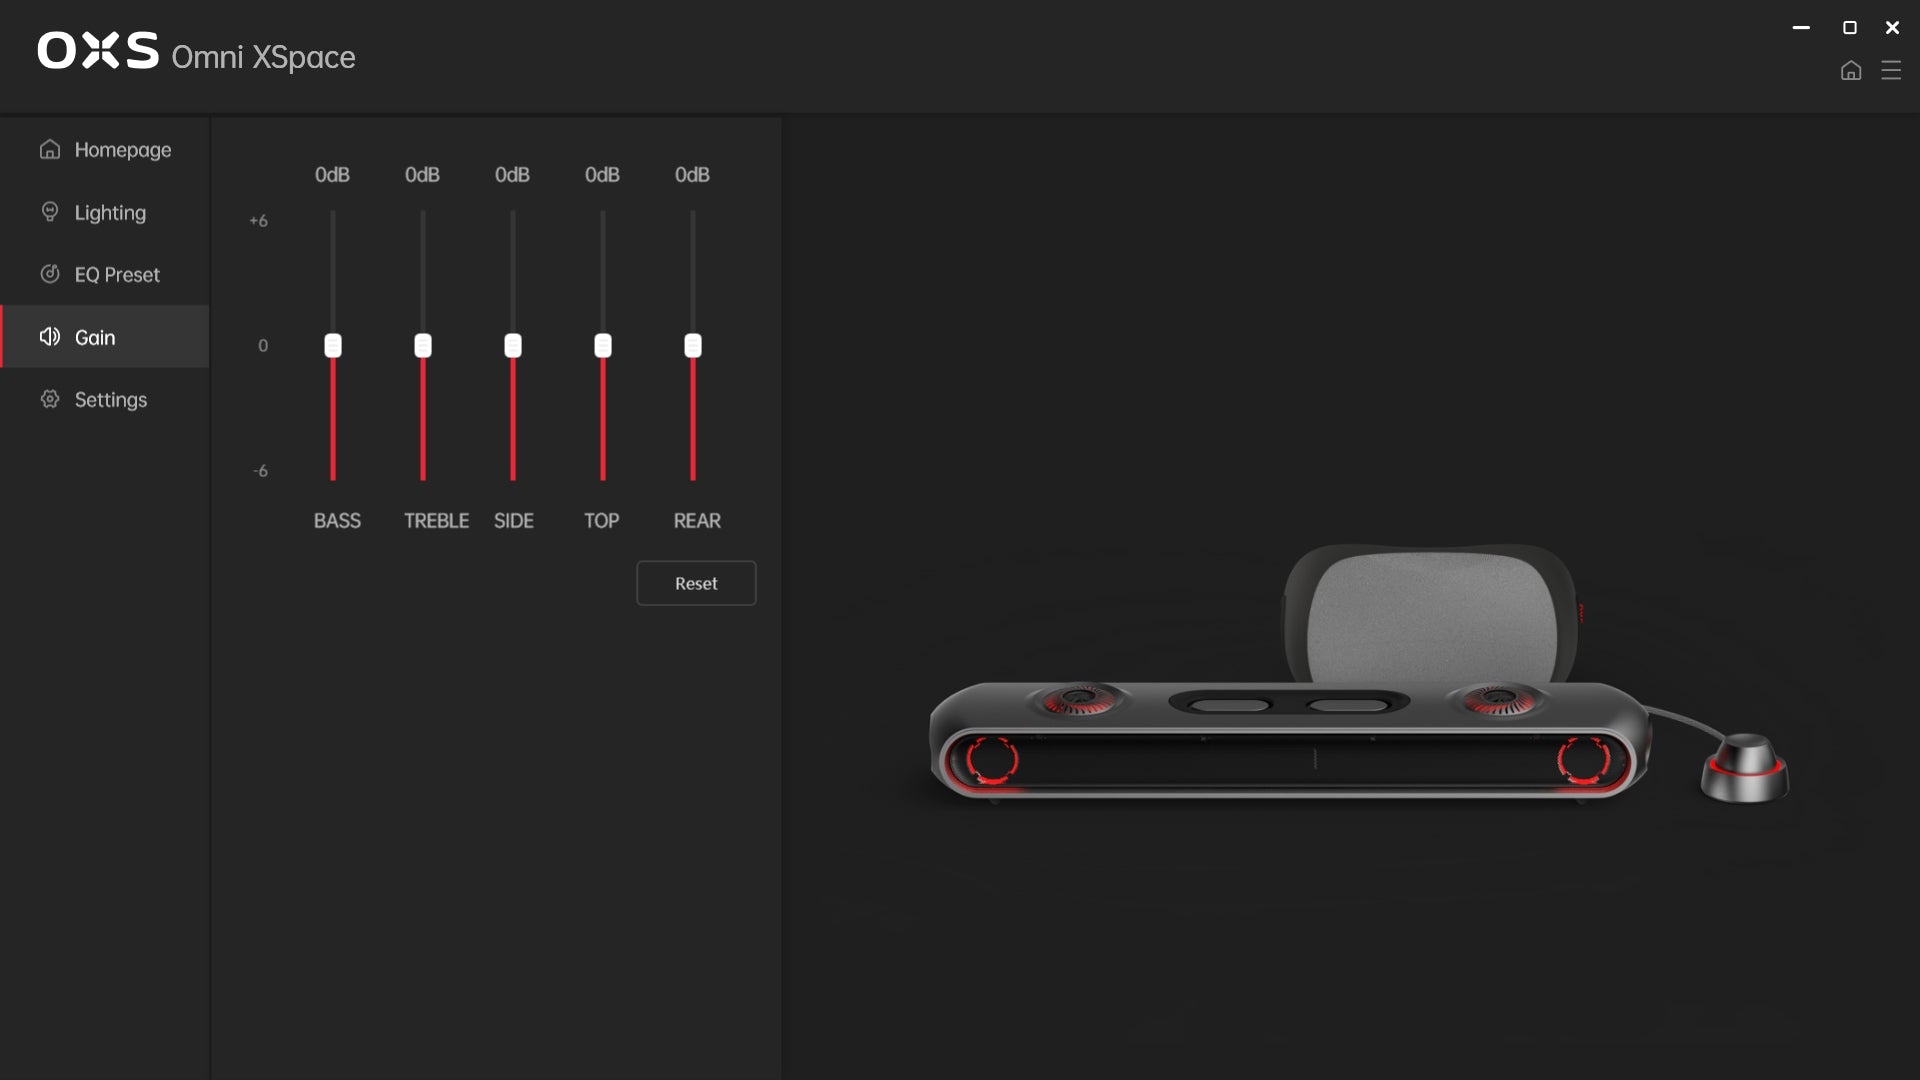
You can separately customize the channel volume of bass, treble, side channels, top channels and rear channels (of the neck speaker).
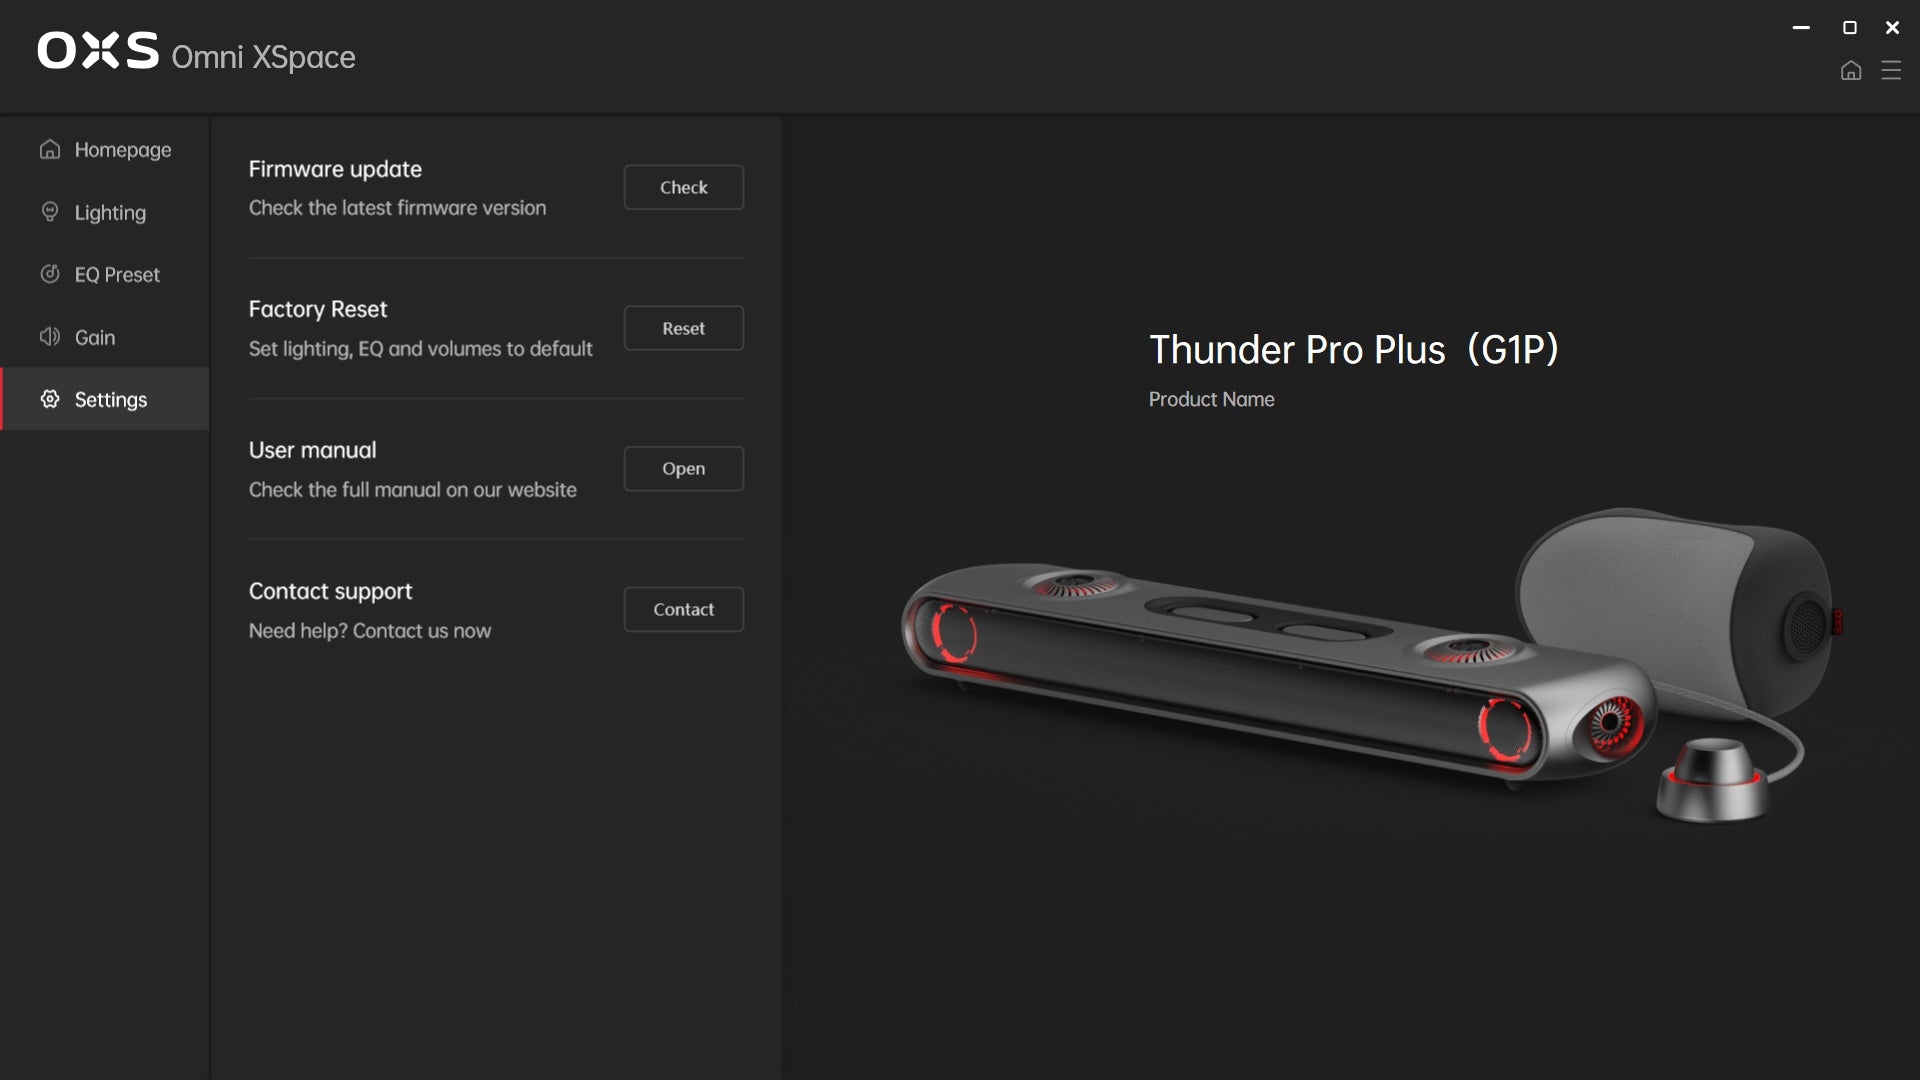
You can check firmware update, process factory reset, find user manual and contact support here.
Sure! The connection through USB-C port for OXS Audio doesn't affect the transmission of audio and picture signals. You can choose other connection methods you prefer, such as HDMI, for sound output.
Here's how it works:
1. Prepare both the USB-A to C cable and HDMI cable:
For connecting to OXS Audio: Soundbar USB-C port -> PC USB port
For Dolby Atmos sound output: Soundbar HDMI -> PC HDMI
2. Switch the input source to "HDMI"
That's it! You can now enjoy Dolby Atmos while using the OXS Audio app.
Your Satellite Neck Speaker is not connected. Please follow these steps to establish a connection:
Not having an OXS satellite neck speaker? Stay tuned for the separate launch.
In Standard (STD) EQ mode, the neck speaker will have no sound when the media source is not multi-channel Dolby Atmos.
To enhance your gaming experience and ensure compatibility with a diverse array of audio sources, we've designed our Satellite Neck Speaker to work better with three specialized sound modes: FPS, RAC, and MOBA. These modes enable the speaker to work seamlessly with non-surround sound formats, such as PCM.
The Standard (STD) mode, which allows you to enjoy the original sound without the need for special encoding. This feature ensures that the speaker can deliver high-quality audio regardless of the format, making it versatile and suitable for a wide range of multimedia applications.
We are here for you
Have any questions? Feel free to send us a message here.